
INTRODUCTION
Last two weeks' assignment is on Experience Prototyping. Our design brief presented us a challenge on designing and prototyping a new concept for a playful social distancing interface which will also suitable for projection mapping. With the help of the Wizard of Oz technique, we won't need to code every interaction, instead we will have the chance to fake some of the interactions due to time and budget restrictions.
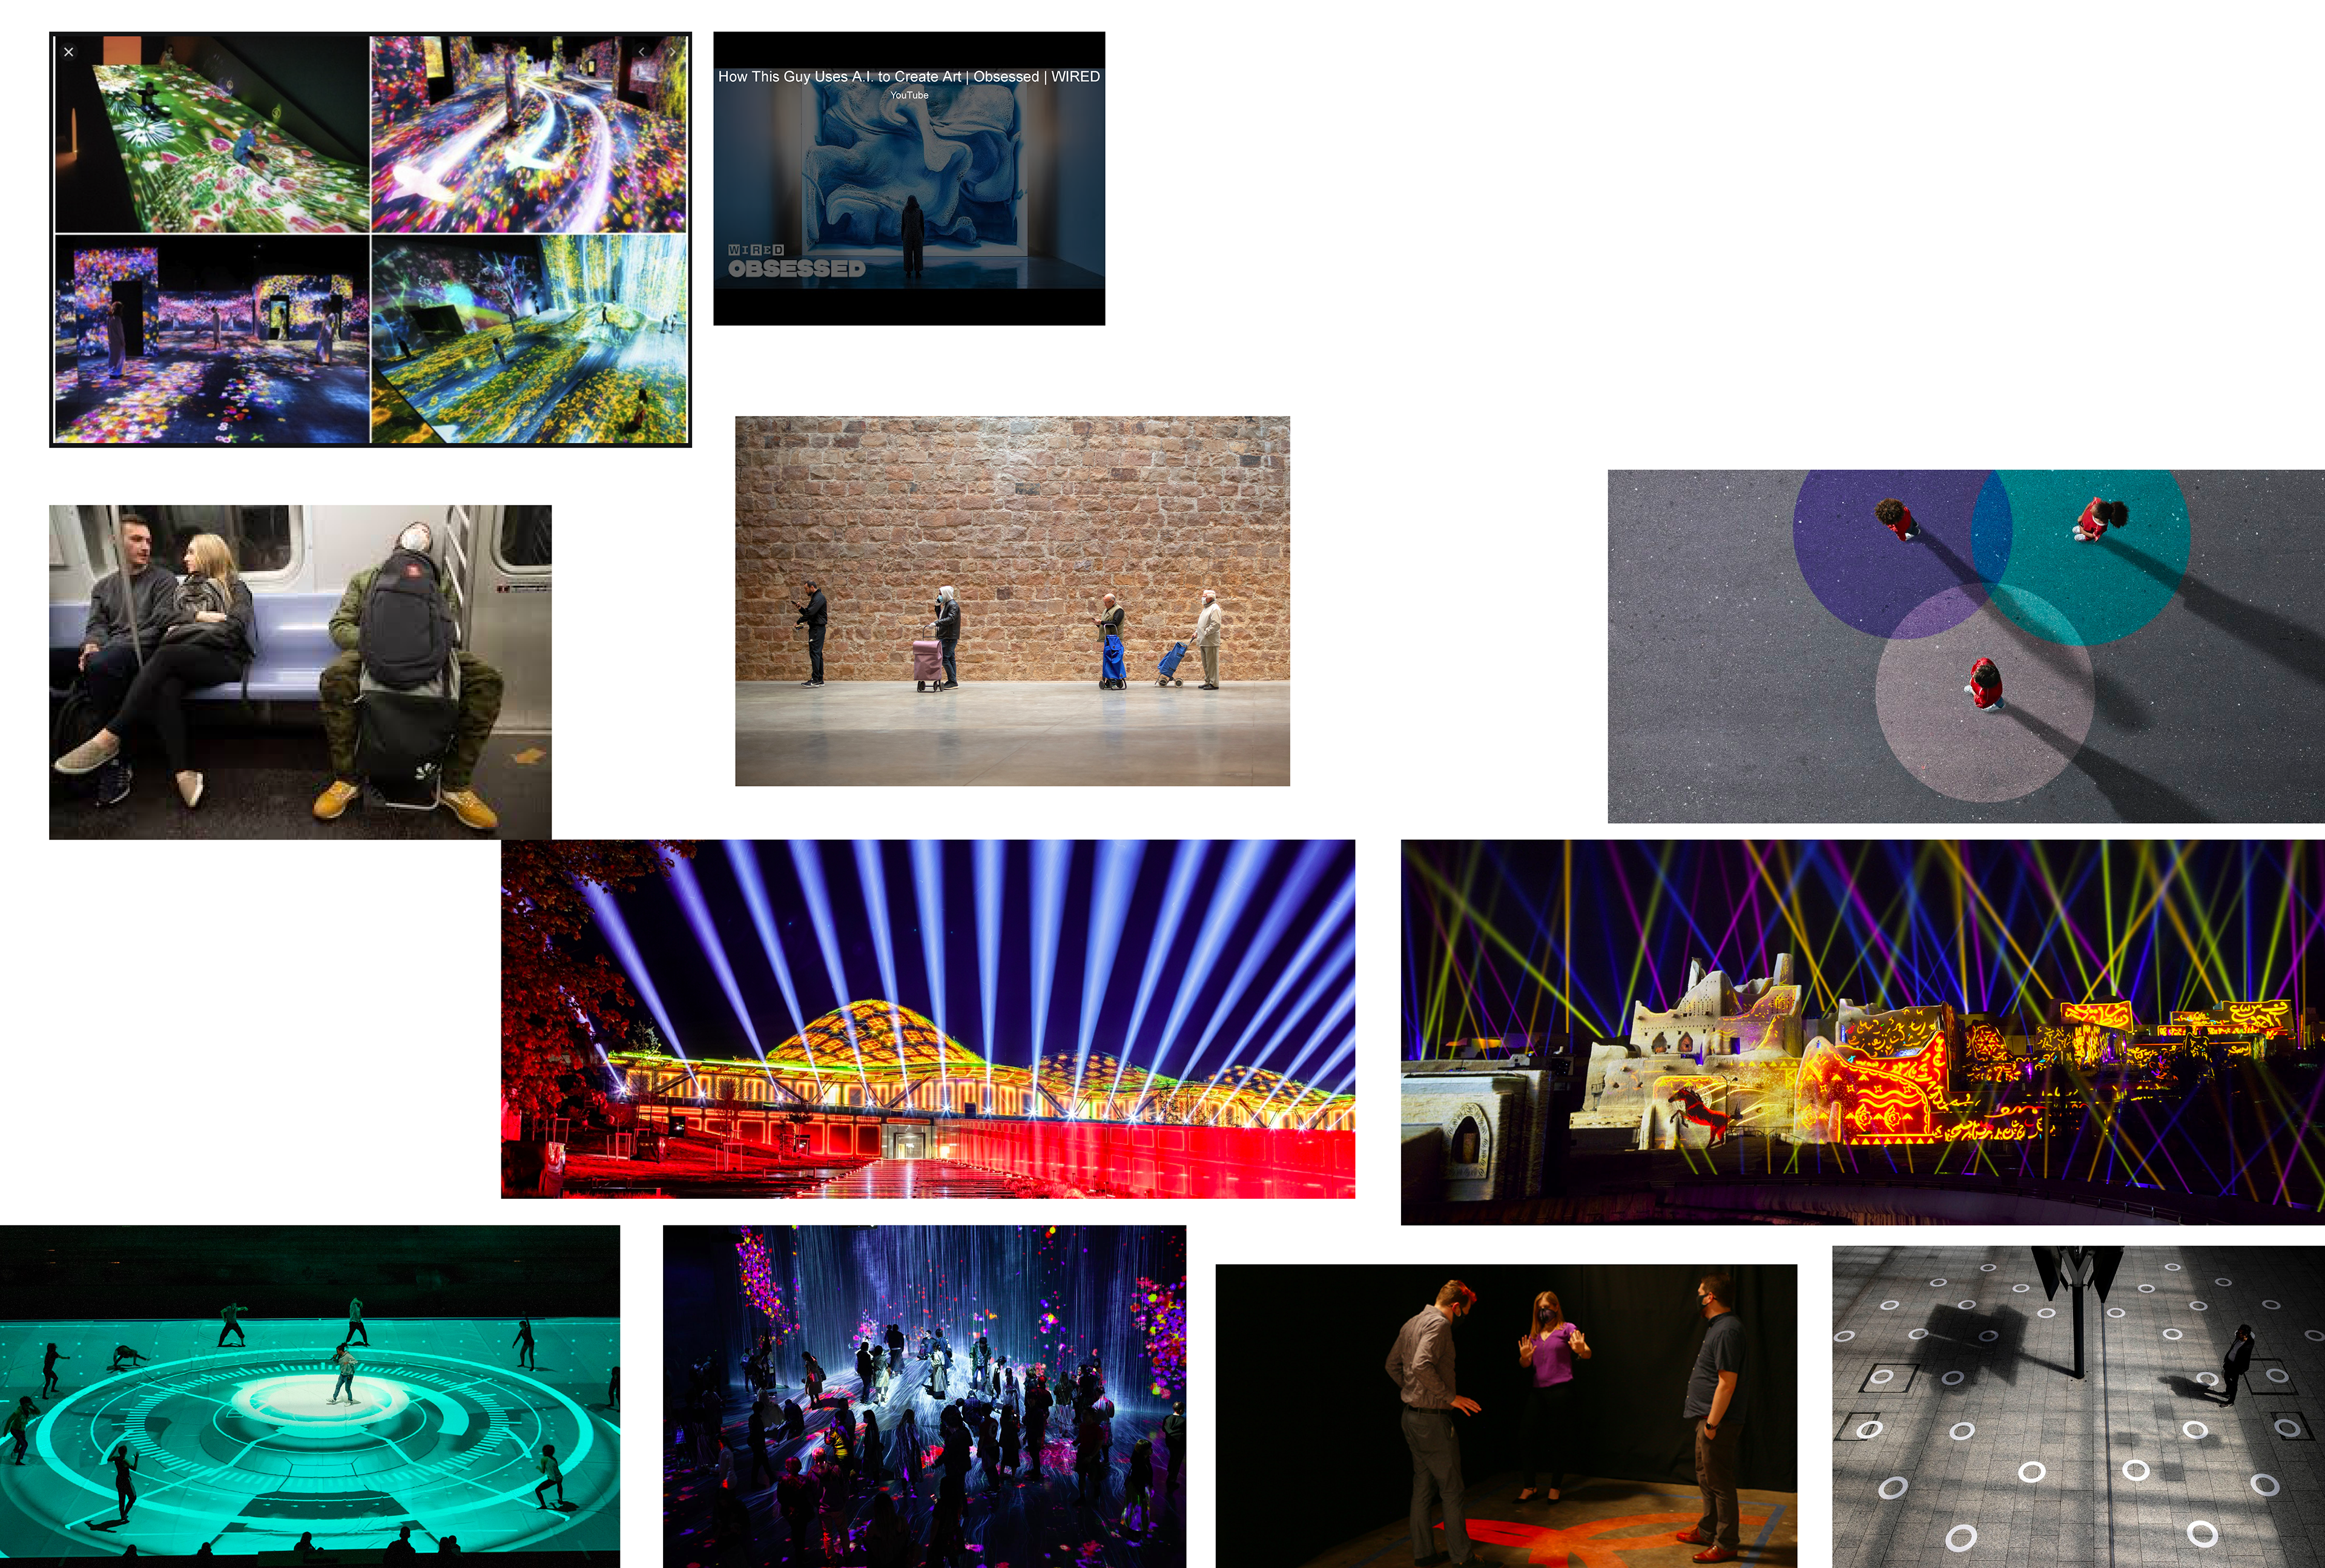
For this assignment, I paired with Heidi and we decided to participate IRL workshop together. For IRL workshop, our design brief was on designing a projection mapping for social distancing. Before coming up with a concept, we discussed the project brief and then started gathering information on web to form a mood board (below left). Then, we jot down our ideas on postits (below right) to discuss more. In the end, we decided main elements of our to-go concept.
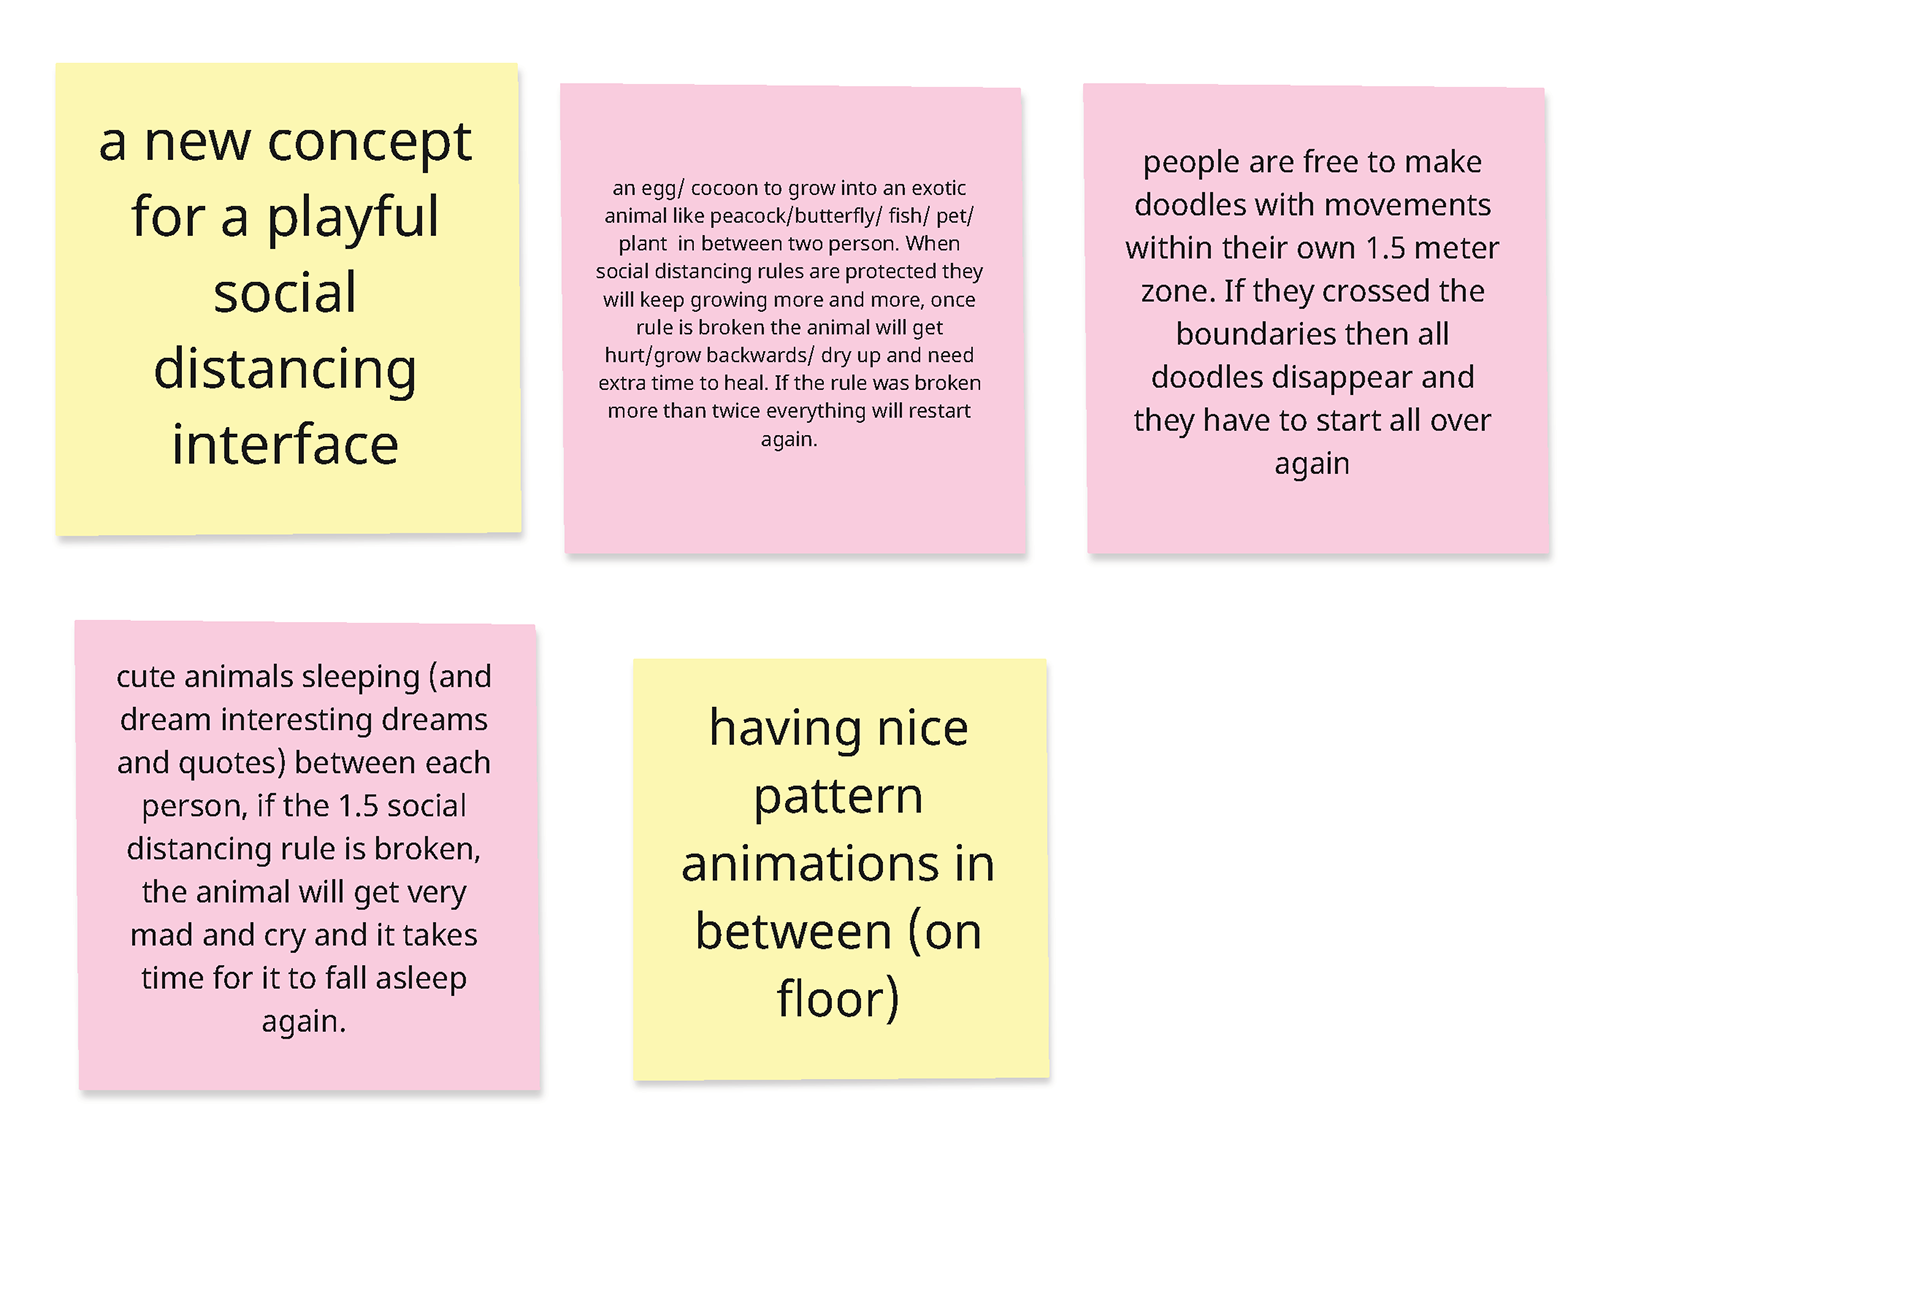
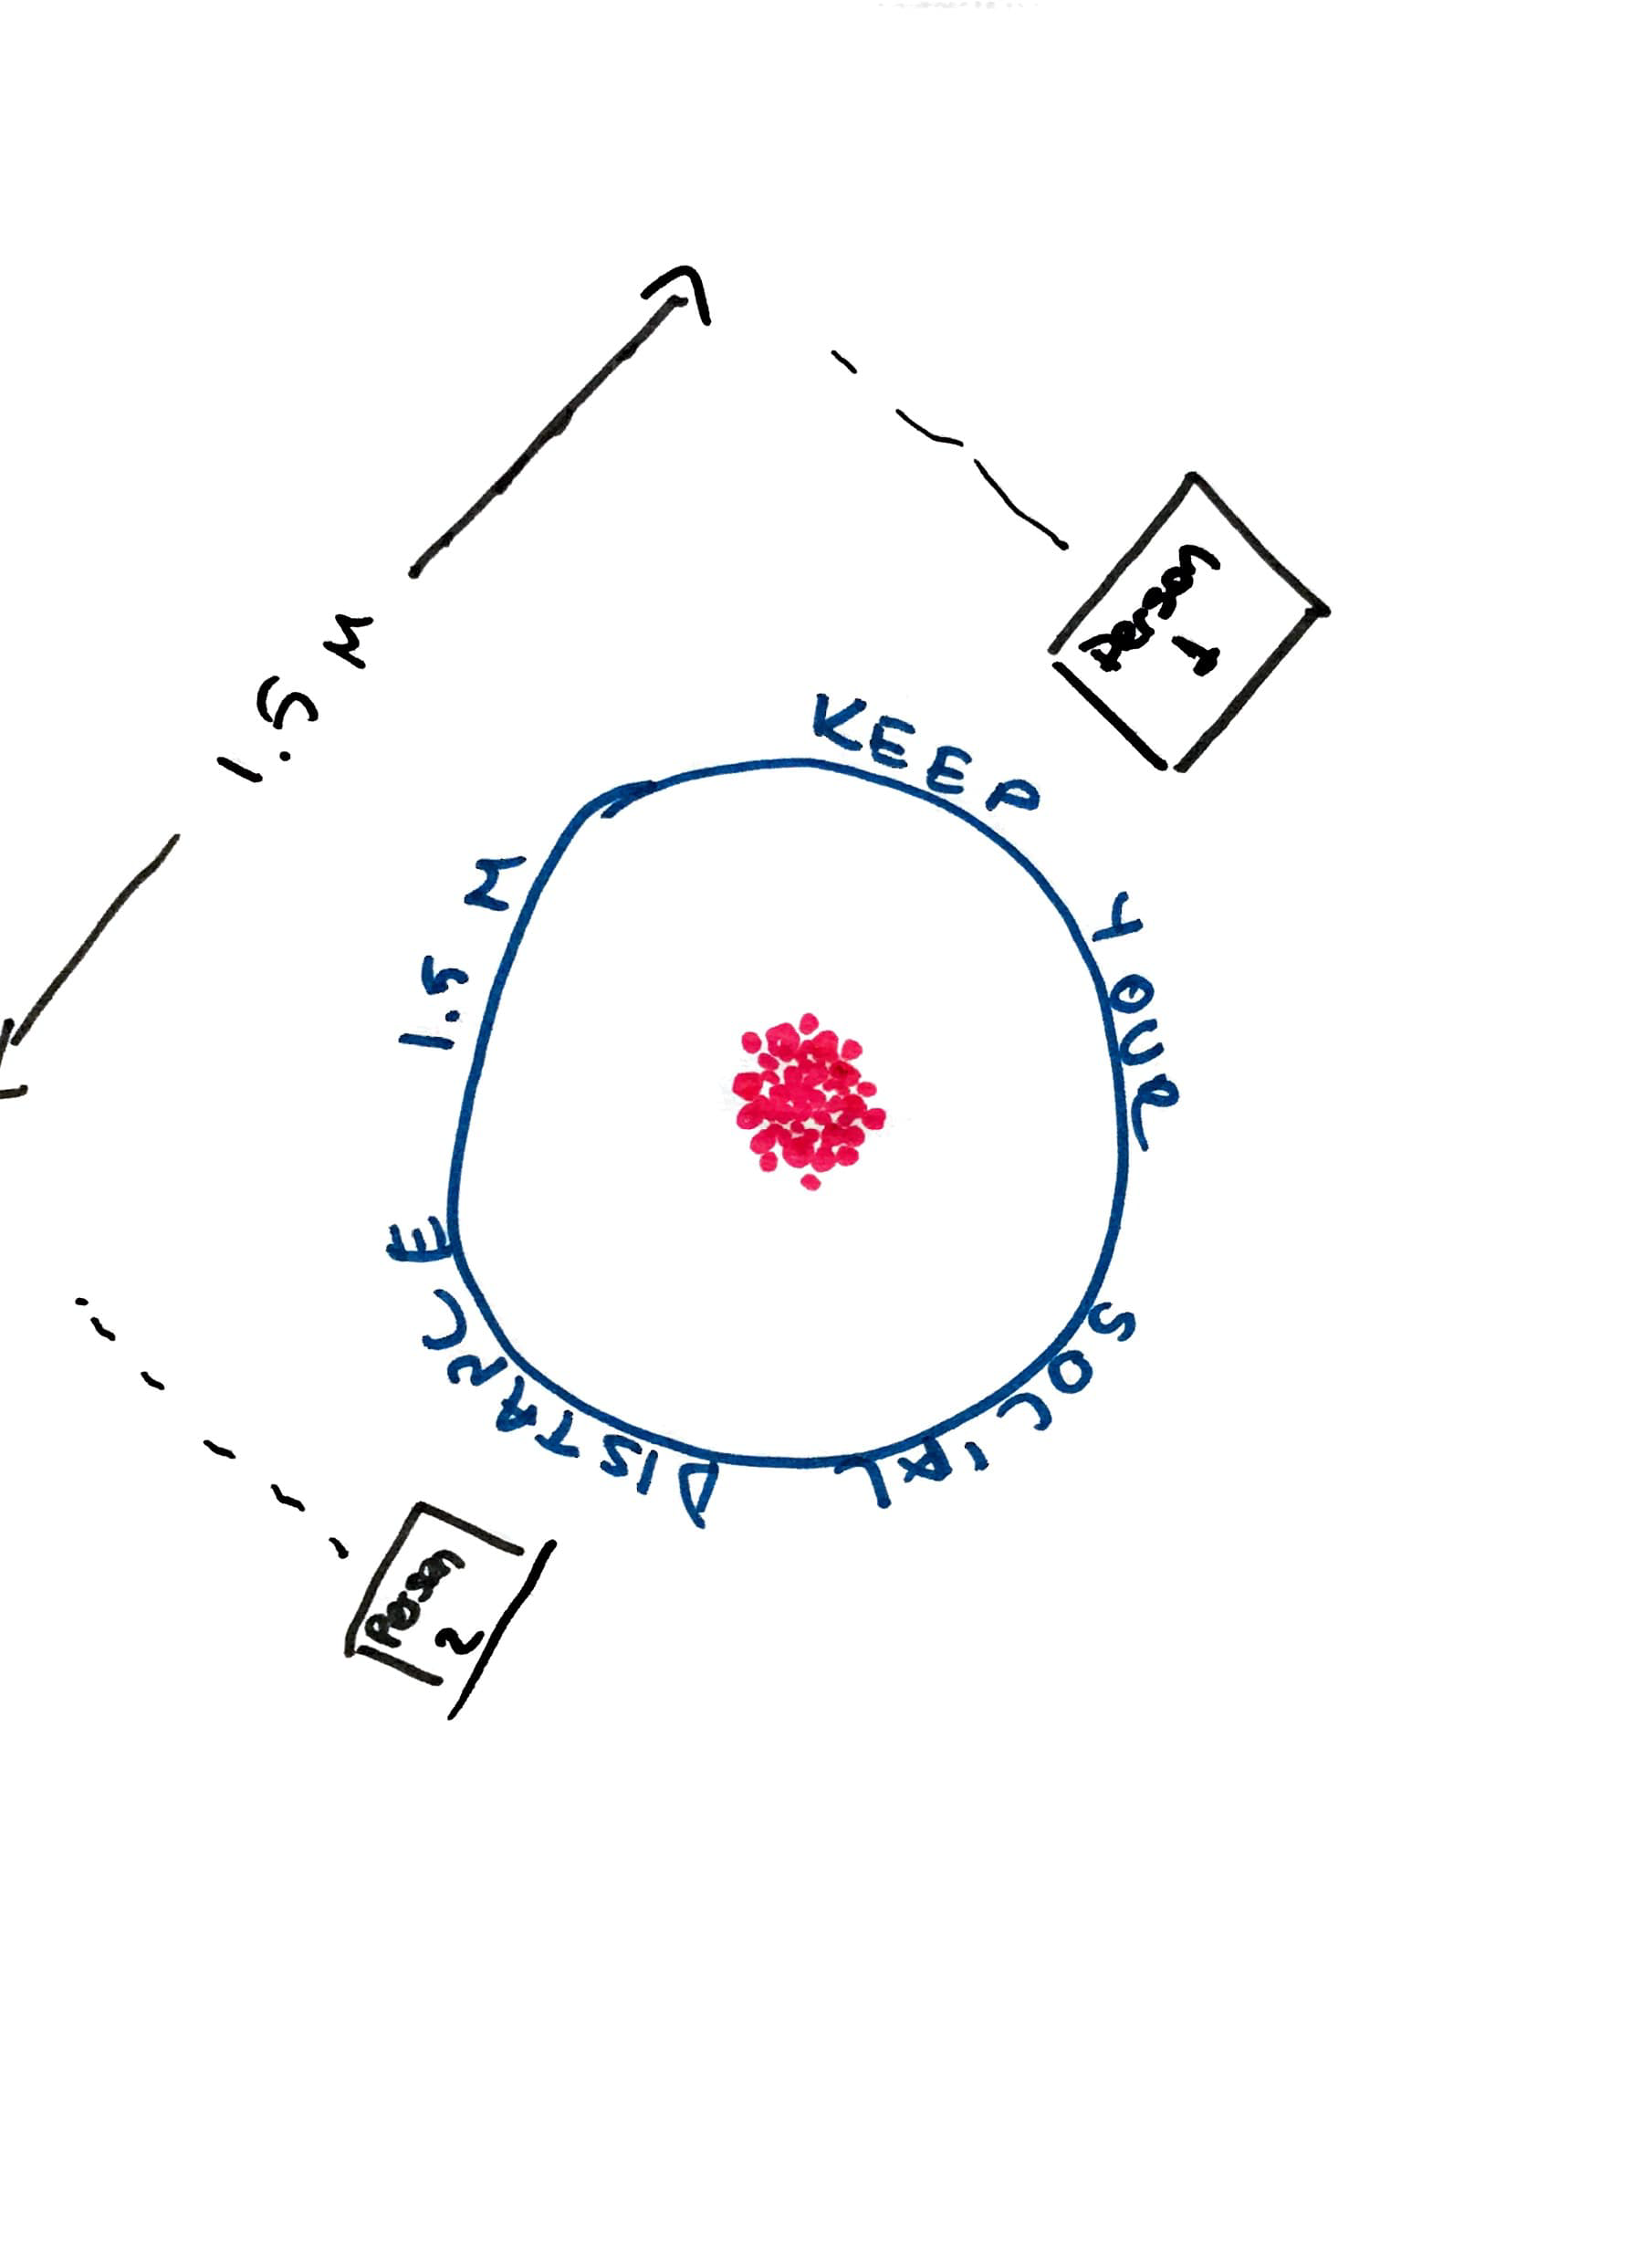
We decided to design for queue in front of the stores. So people will be standing still for some amount of time and they need to remember to protect their social distance. To make it work, we decided to go with project a nice pattern or gif video between 2 people instead of projecting circles or borders around them. Whenever they come closer more than 1.5 meters, there will be a system response on the projection. This way, we aimed not to make people feel that they are isolated, but they have a healthy distance in between. The reason behind this decision was living with a pandemic for more than one year has already bad effects on people's mental health, so we didn't want to add on this through feeling them that they are isolated from the society.
PROTOTYPING
Before starting the prototyping, we had two different ideas regarding the design. One of them was an animal sleeping till 2 people come closer. When they are closer than 1.5 meters, the animal will wake up and be angry. We thought we can do this on Photoshop as a GIF. Other idea of ours was having a nice and flourishing pattern between two people till they come closer. Whenever they are closer than 1.5 meters, the pattern will go back to starting point. We discussed that we could do this on XD. In the end, we decided to try both ideas to see which of them is better to apply. Since we couldn't make animal GIF work, on the workshop day we proceed with the pattern we built on XD. You can try it by clicking the button below or watch the recorded video of the pattern working.


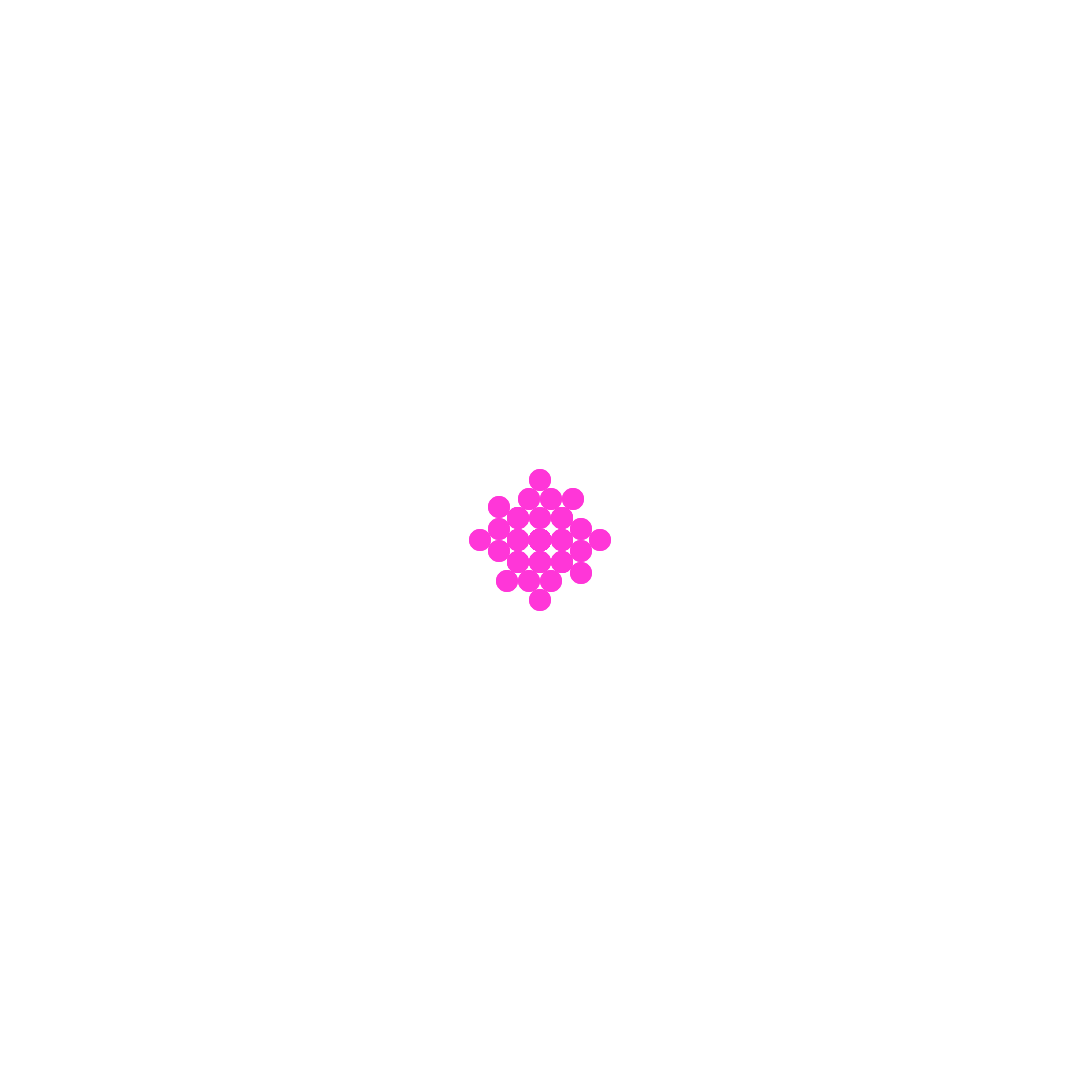
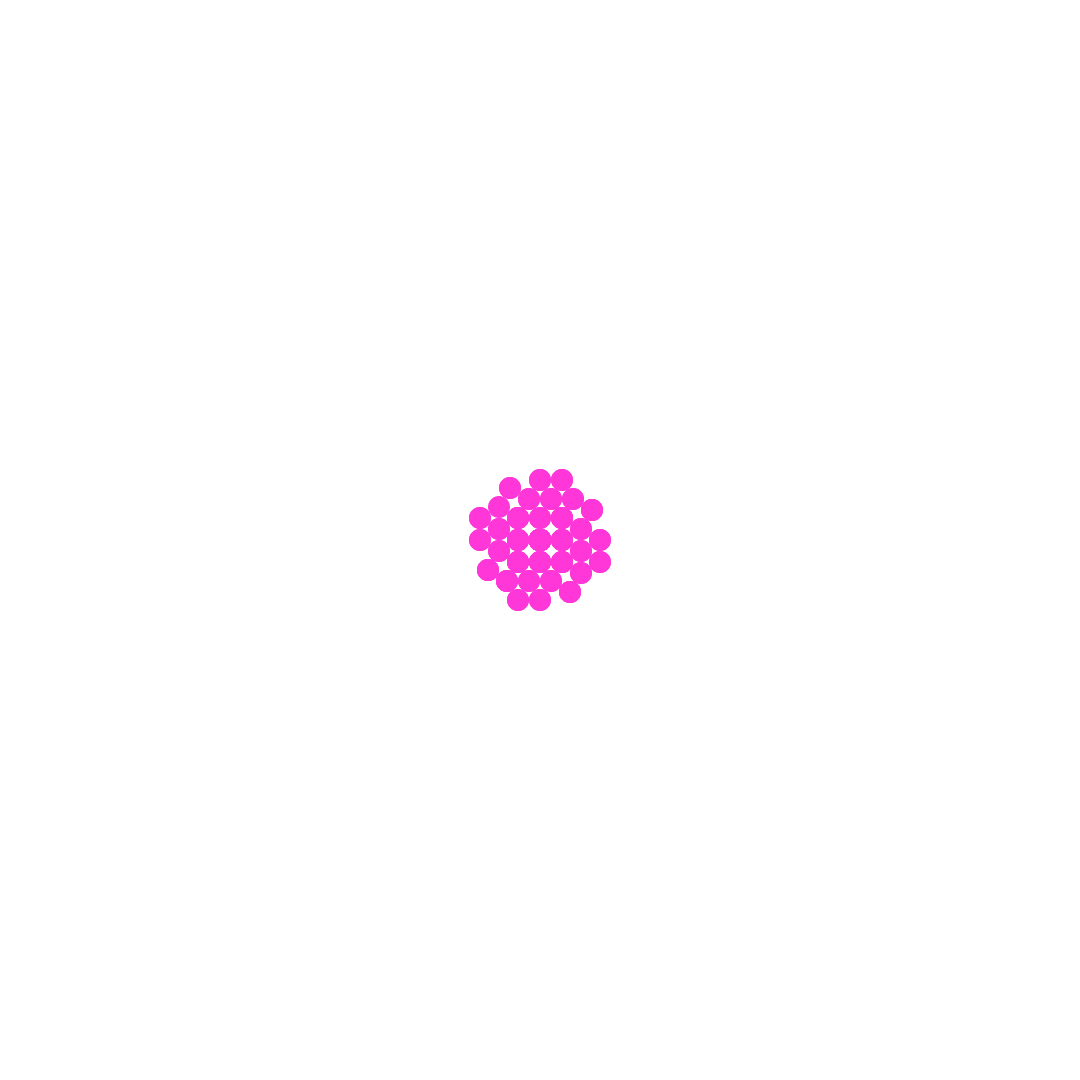

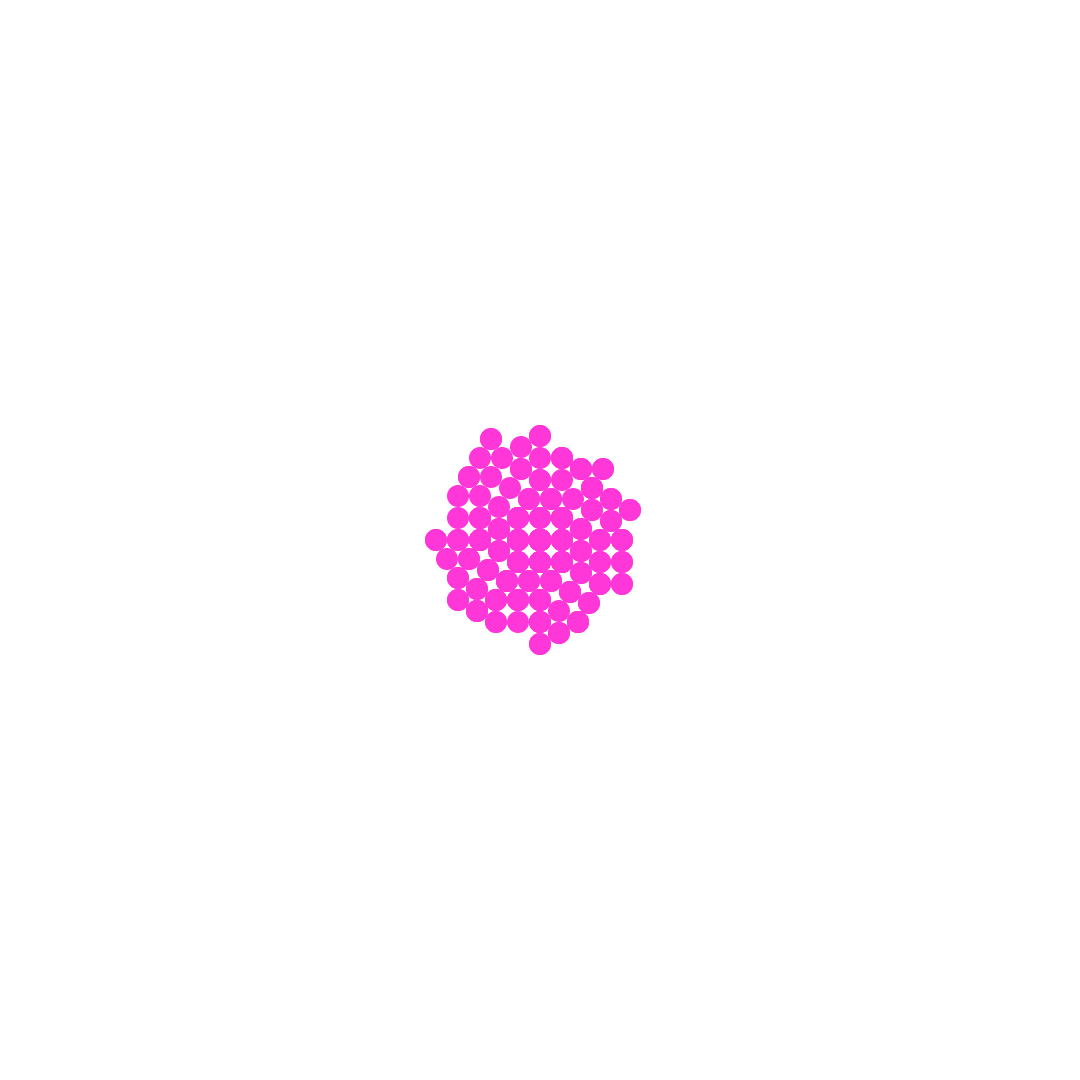
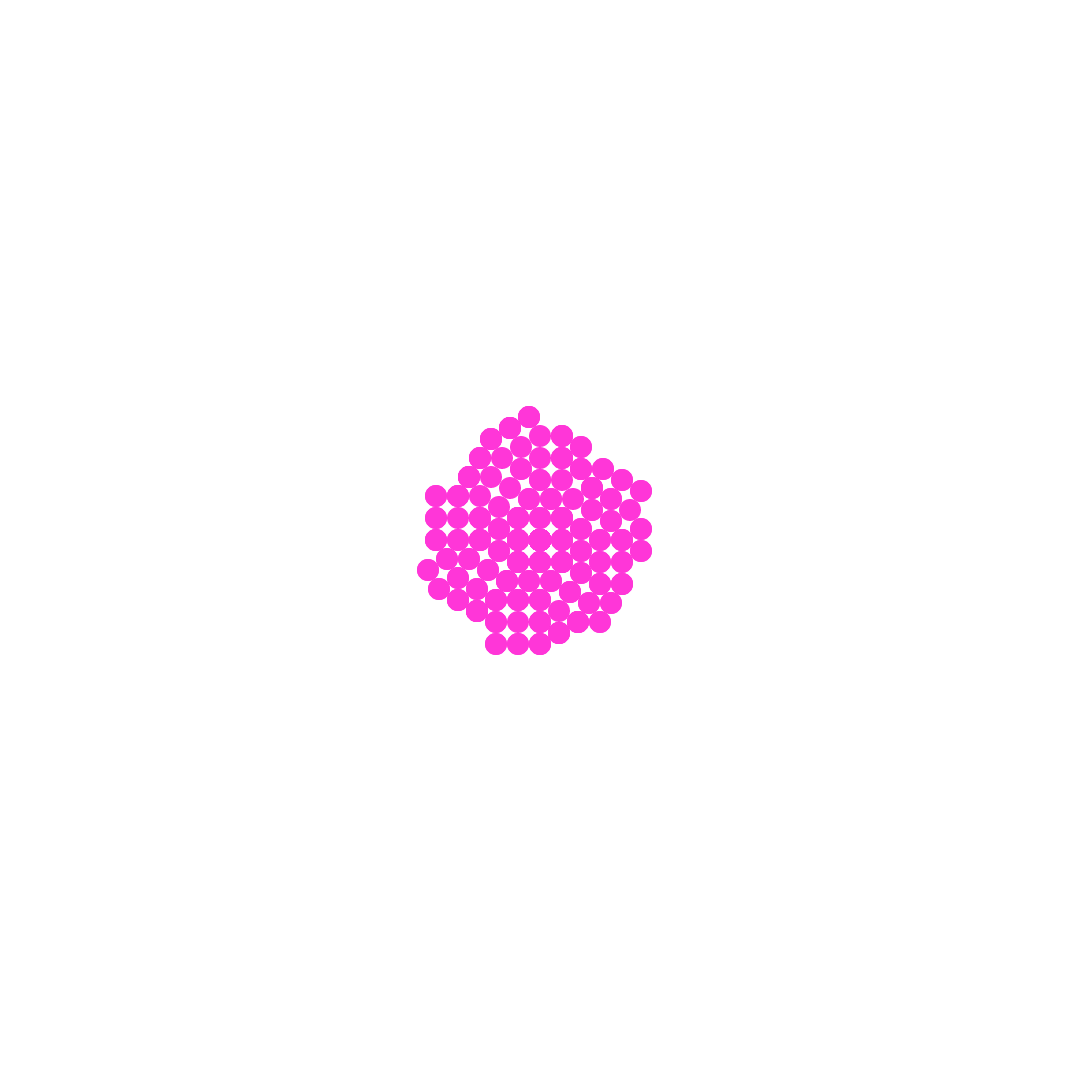
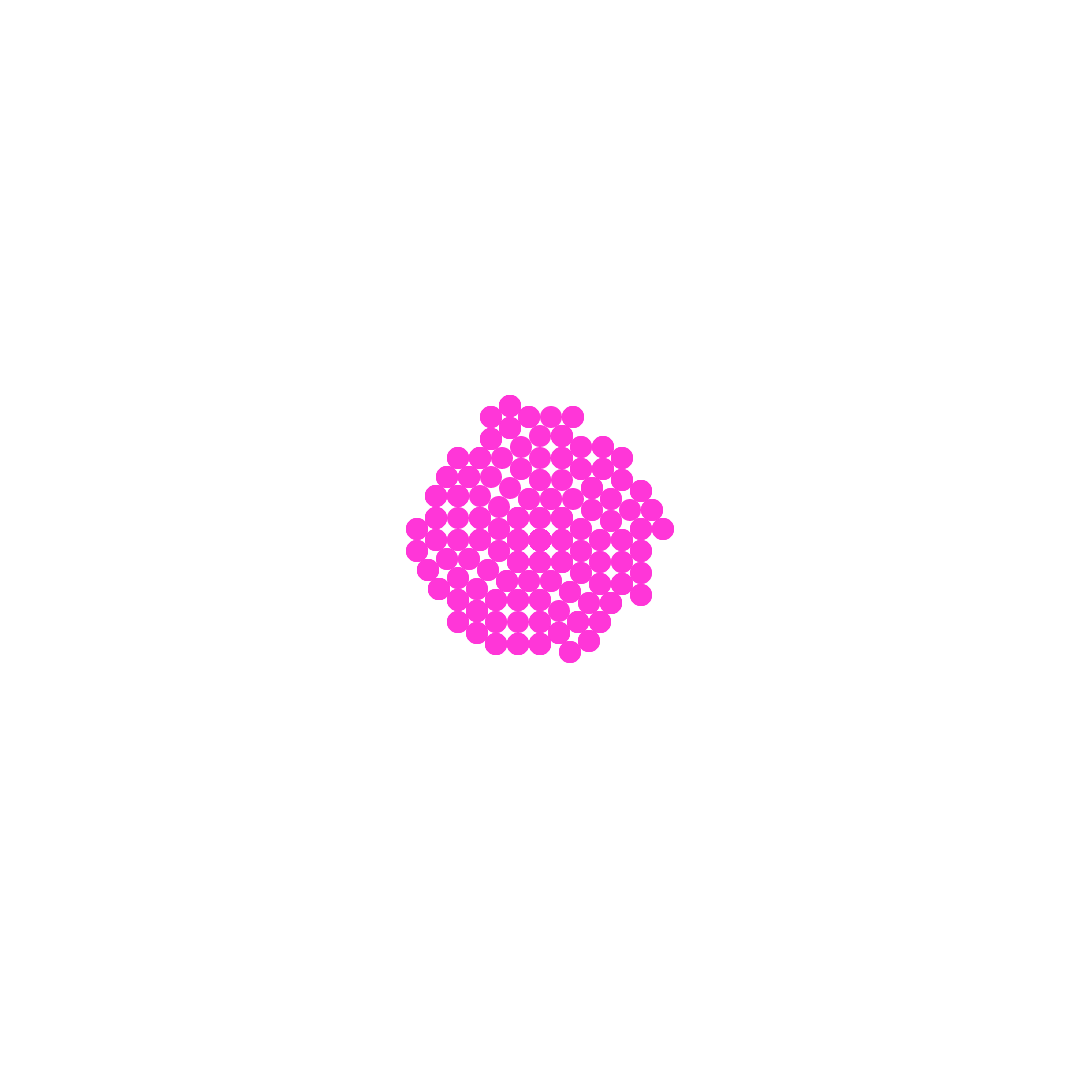
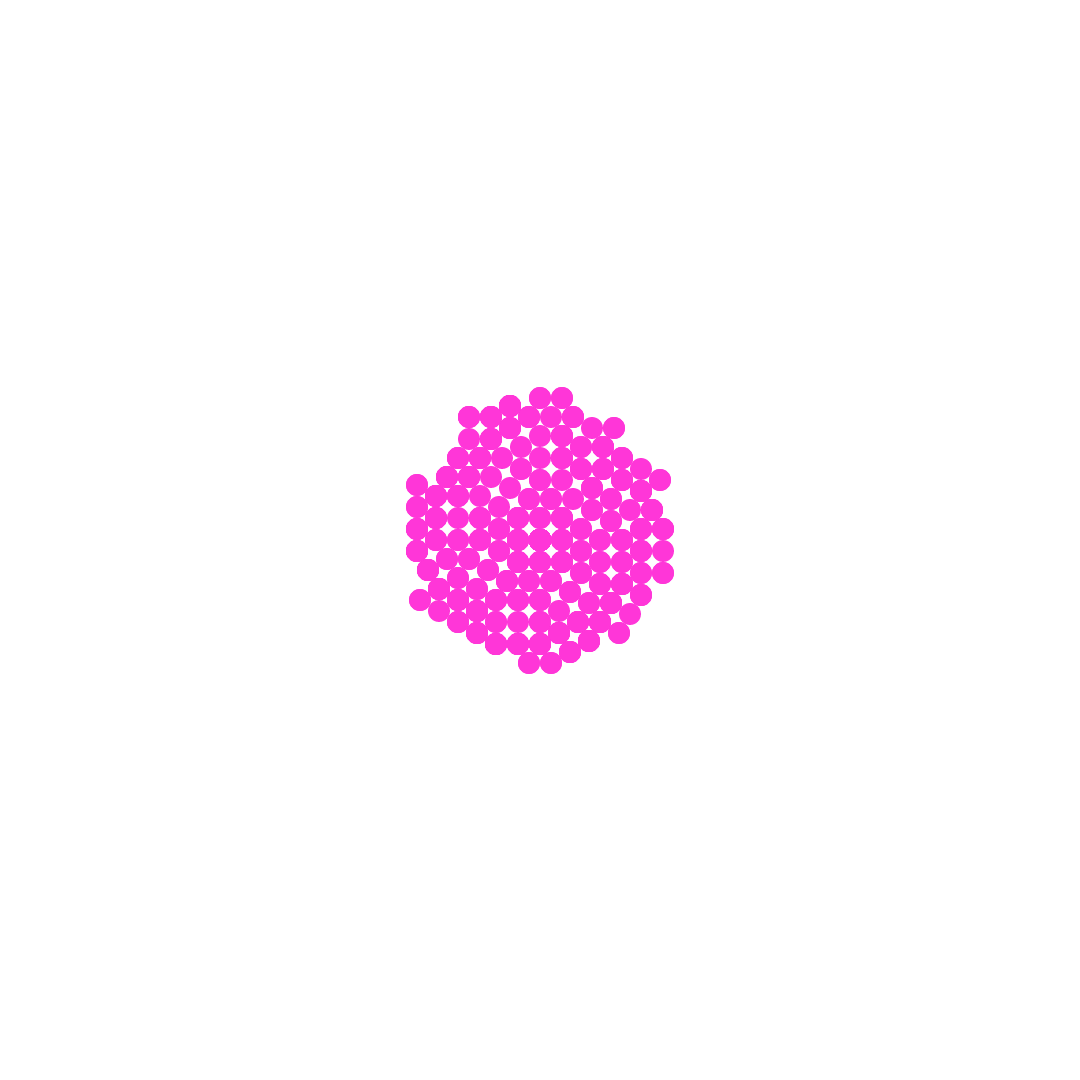

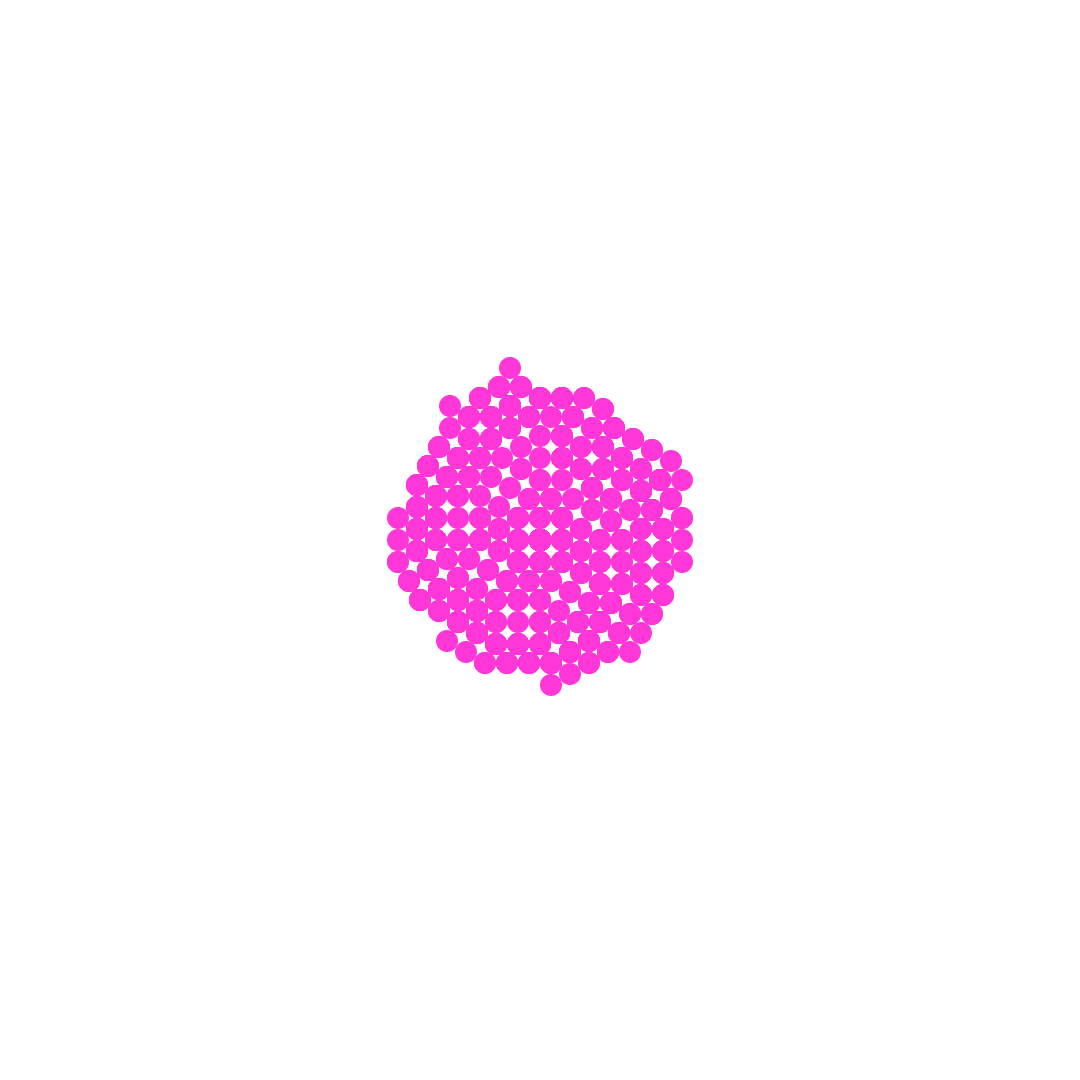
To build this pattern, we used Adobe XD's Auto-Animate feature. Basically we put same size and color circles on the same spot first. Then we built different frames by dragging circles next to each other. On a new frame we made sure that we are following same direction on making new circles. In the end we wired all frames by Auto-Animate and made the animation duration in between two frames are always the same. Building this animation took more time than expected as we started with a very small sized circles. Accordingly, at one point we wired the big pattern to the starting pattern. So, our pattern animation became a loop. In the event that two people protect their social distances, at one point pattern automatically starts from the beginning. In order to be able to start pattern from the beginning for violation of social distance, we added tap trigger onto each frame. So, our prototype's Wizard of Oz part will be this. We will observe our users' movements and whenever they come closer, we will click to start the pattern from the beginning.
At school, we tried out our prototype for the first time. Since floor is a light color, having a white background on our prototype worked well. On testing day, we instructed our participants with the context we worked on. We told them they are waiting in front of a store and they need to protect their social distances. Overall, our prototype worked well, and we were able to start the pattern whenever the participants come closer.
Below is the video from our test.
REFLECTION ON TESTING
As mentioned above, in general our testing went well. However we found that there could be improvements on concept, design and the tools we used for the next time.
Regarding our concept, although we want to go with the space in between two users instead of each person's diameters, after the test we found out that it might cause confusion on users. Since there was no message or call to action to the users on the projection, they could not understand why there is a pattern in between. In order to eliminate this confusion, we discussed that we could have put a circle on the external area of the pattern with a message on social distancing. (see picture on the right) This way the users will understand the purpose and message clearly.
Another point we figured out during testing is for the users it is not clear how can they interact with the pattern. We observed that at first they seemed to be interested, but then they were just bored and trying to break the pattern by putting their feet on it, etc. When we asked them why they did like that they answered that it was interesting at the beginning but overtime it was more fun to break it up and interact with it. Since our aim was actually keeping the social distance, our design is failed to do so in that matter. We need to work on a pattern that users would like to keep it not break it. When we reflected on this result, we came up with making a nice and growing patterns following each user might be a better solution. Then they would like to keep their own pattern nice and growing because in our concept the pattern was in the middle, so it wasn't belong to anybody.
As we observed from other groups' projections, blue color was not visible in the ground. So, in terms of color choice ours went well. The thing we came across on the testing day was dimensions. Our original design was with circles. However, because of the angle of the projection, our design seemed like ellipses. If we had knew this before we would work on the shapes more and try to have a better visual.
Regarding the tools we used, at first we thought design tools might be faster and easy to build a pattern animation. However as mentioned above, we needed to work more than expected on XD because it required repetition elements and multiple frames to make a smooth transition and pattern. During the test day we found some bugs and wanted to fix them quickly, however it wasn't quick as we needed to do manually with each frame. Accordingly, we found out that coding, e.g. using processing would be better than design tools. Then we could do the changes quickly and automatically with the help of the functions.
REFLECTION ON WIZARD OF OZ PROTOTYPING
This workshop was not my first time trying Wizard of Oz prototyping, actually. This year I and my design partner Liz used this method for our Bespoke Prototype. Since our final concept included the user watching video recordings and needed to turn the camera on and record herself within the experience, in order to present our full experience, we went with Wizard of Oz method. So, we took screen recording of our prototype and manually opened the video recordings during the screen recording. In the end we had a full preview of the experience we designed with combination of prototype and videos. Accordingly, I was already aware that how can this method be used and how powerful it can be. Thinking of this assignment for instance, if we needed to build a system actually detects users movements, we couldn't complete it within 4 days. It requires more time, effort, and budget. After building that kind of a system, if client or designer don't like some elements and want to change them, it would cause more time, effort, and budget. Thanks to Wizard of Oz method, we can prevent this situation. First, we can test our ideas, concepts, or design with less effort and budget, then when we finalize it, we can proceed with the system building. This reminds me our journey from paper prototyping to high-fidelity prototyping. I can say that Wizard of Oz method is kind of paper prototyping for real life experience design. Being said that, it can also be used for digital interfaces as I mentioned above, I used this method for digital experience design previously. The reason behind was the same since we did not have the knowledge and type to build a real camera and video included system, we went with this method. All in all, we can say that this method can be used whenever there is a back system involved in actual product idea but the design and system is not finalized yet. So that we can test the product in earlier stages, then have more time to do iterations and making it better before jumping to the building of the back system.